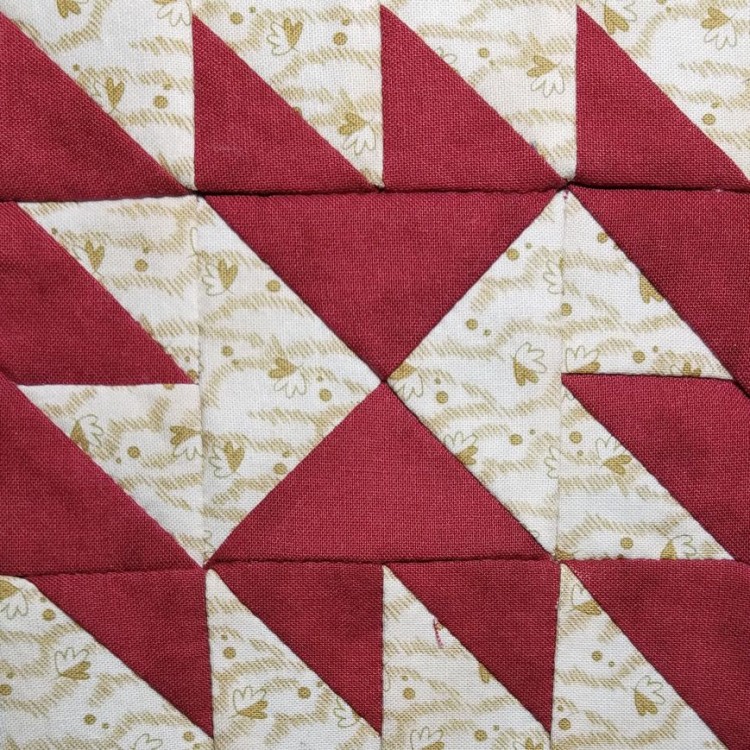
Last week, I packed away the projects I was putting on the back burner, and it felt like a quilting weight had been lifted off my shoulders. Without all that background stress, this block went together surprisingly quickly.
The blog post for it … not so much. With the holiday and a trip out of town, I haven’t been able to knuckle down and write the darn thing. So, I’m sitting in my hotel room at 7 AM on the morning we fly home, battling extremely slow wifi but determined to wrap this up.
The biggest challenge with this block seemed to be getting all the triangles pointing the right direction. I’ve seen a bunch of examples where other quilters got distracted and put one or more of the triangles facing the wrong way. I always wondered how people could goof that up, but after this block, I’m beginning to see how it could happen.
If you get it right, the final result should look like two Pac Men (Pac Mans?) facing away from each other. Mine looks right, but it took constant vigilance and rechecking everything against the photo before each seam.
The personal challenge for me on this block was the fabric. I don’t know what I was thinking, choosing a not quite striped, but striped-adjacent, fabric for this block. When cutting out the pieces, I had to be super careful to get all the stripes pointing the same direction.
On top of that, there are so many places where two tan triangles touch each other, and I was worried the stripes in the two triangles wouldn’t line up and it would look weird. Perfectionism, anyone?
My Mom is famous for matching the patterns on seams … not just for sewing, but for things like the wrapping paper on gifts. So, clearly it’s genetic and there’s nothing for me to do but deal with it.
So, I went rogue and modified the pattern a little bit. The official pattern for this block calls for you to sew two tan triangles together for the back of each Pac Man, and two red triangles together for the back of each red Pac Man (just noticed that the red pieces make upward and downward facing Pac Men … cool!).
Why even create that extra seam? Instead of sewing together two small triangles to make one big triangle, why not just cut out one big triangle to begin with?
So, that’s what I did. This approach had two advantages. First, it meant fewer seams where I had to match up stripes. Second, it meant fewer seams creating bulk on the back of the block.
Even with this modification, it was a chore to iron this thing (semi) flat. There are still some places in the block where seven different triangles come together (along with their bulky seam allowance) at one spot.
In this case, I think going rogue and simplifying the pattern was the right thing to do. At least I eliminated that one spot in the center where eight triangles were coming together, and reduced it to four. Hopefully the quilt police will recognize my good intentions and won’t come after me for it!

The middle looks so neat so I’d say it’s a good move to modify the pattern! Great work
The more I do these small modifications, the better I feel about choosing to do them. It feels like I’m still staying true to the spirit of the pattern, just making it a little easier to construct.