Just like with the Victorian Camo block, I once again find myself working with a fabric that I probably wouldn’t have chosen and am not sure how to deal with in the construction of this block.

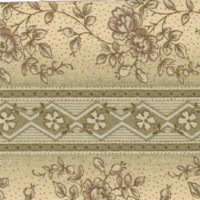
The fabric has a 7/8″ greenish stripe with diamonds, alternating with a 1.75″ yellowish stripe with flowers. Even the wider stripe is narrower than the width of the pieces in this block, so there’s no way I can cut it to pretend that it’s not a striped fabric.
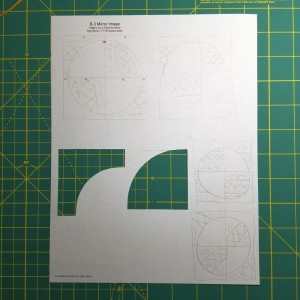
Also, I want the fabric to read as light green instead of yellow, to match the other fabrics used in the quilt. So I opted to center the green stripe, and try to minimize the most yellowish parts of the yellow stripe when cutting out my pieces. I drew a number of different possible fabric layouts, to see what I liked best.

The diagonal stripe layout (in the bottom right corner of the photo) was the most appealing visually, but that would leave me with bias edges on the block, and I was concerned about it stretching out of shape.
The next best bet was to just make sure everything lined up so that the stripes appeared to run continuously from one piece to the next. My mom’s obsession with matching plaids at the seams when she sews clothes is legendary, so I come by it honestly.
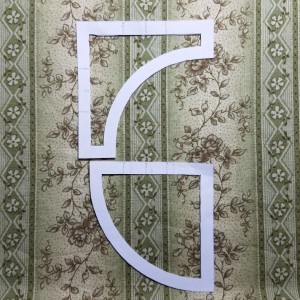
Each of the four quarter-circle blocks that make up this quilt block are supposed to be 2.25″, so I measured to find where on each pattern piece the center of the quarter-circle block would fall. Then I measured 3.5/8″ (also known as 7/16″) to either side of the center line, so that I could make sure the 7/8″ green stripe was centered on the quarter-circle block, whether the striped fabric was used in the quarter-circle piece or the edge piece.

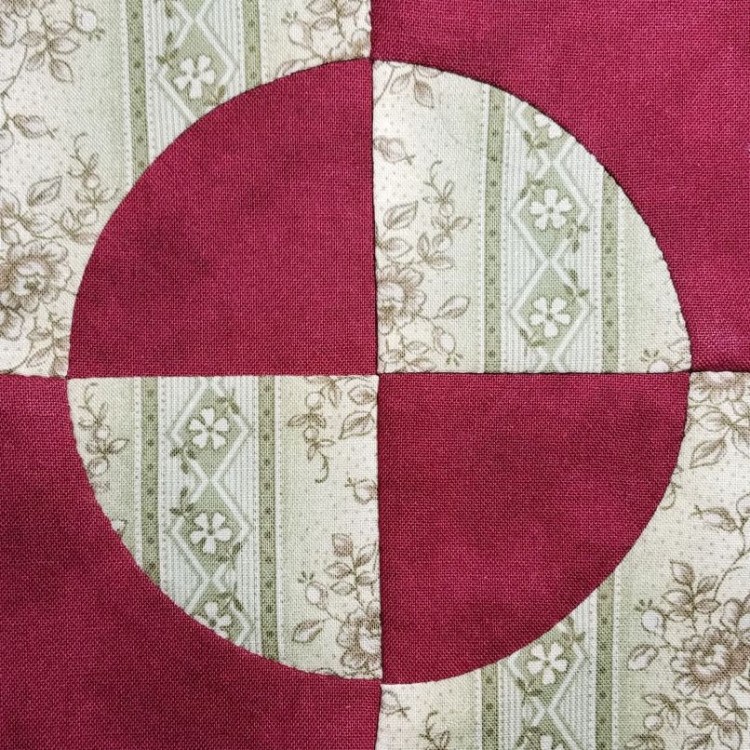
It all went off without a hitch, except that I had intended to do horizontal stripes instead of vertical ones, but I was apparently tired when I marked the pattern pieces. Yes, I can rotate the block 90 degrees, but then the green and red pieces will have swapped places. I’m definitely not married to the horizontal alignment of the stripes to the extent that I want to redo the whole block.
Halfway through piecing this block, Facebook’s memories feature reminded me that I’d made my first ever curved hand piecing attempts almost exactly a year ago. Even after a year, I don’t feel like an expert in curved piecing.
So naturally, I turned to the instructions from That Quilt, one of my favorite Dear Jane quilt blogs. She doesn’t just show off a picture of her block and maybe throw out a few tidbits of knowledge like I do … she has detailed photos of every step required to complete each block. Very helpful!
Her method for pinning the curved pieces in this block really helped me keep the pieces from becoming misaligned as I stitched. Any lack of alignment (of stripes or of pieces) in the photo of my block above is entirely due to my lack of camera skills. Everything aligned quite nicely this time.
