I had decided that I had definitely picked out all the fabrics I was going to use for this quilt, and I was going to stop adding more. But I wasn’t super enthusiastic about the fabric I’d chosen for this block.
There was so much surface area with the cream fabric in this block that I felt like I should use one of my larger-scale prints for it. But would the fussy cutting really work out? I didn’t want to have partial motifs chopped off by those seams in the middle of the block.
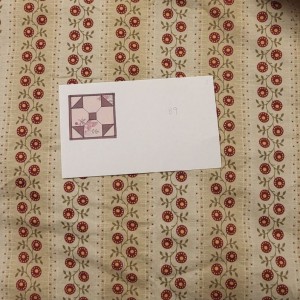
When I went to actually construct the block, I printed out the patterns and consulted all my usual sources, to see how other folks were tackling this one. And right there in Susan Gatewood’s instructions for Block B9, she said that she wished she’d used a stripe like Jane did.
And the lightbulb went off. I had brought home a fabric from the scrap exchange at retreat last month where the colors were perfect for the Dear Jane quilt, but the large-scale stripe didn’t seem appropriate for such small blocks … I’m sure you see where I’m going with this.
The repeat of this large stripe turned out to be just perfect for the size of the tab-shaped pieces in the block. And I had about 1/2 yard of it, so there was plenty of room to experiment with fussy cutting.
I was pleased to have found just the right fabric, but that meant more delay while I prewashed it. Once that was done, I delayed some more while I debated about whether to use the lighter or the darker cream stripe for the block.
I settled on the lighter stripe, since the block would not be too far away from some tan blocks, and it felt like the dark stripe was too similar to the tan fabrics. The lighter stripe was more similar to the yellowy-cream color of other fabrics in this group.
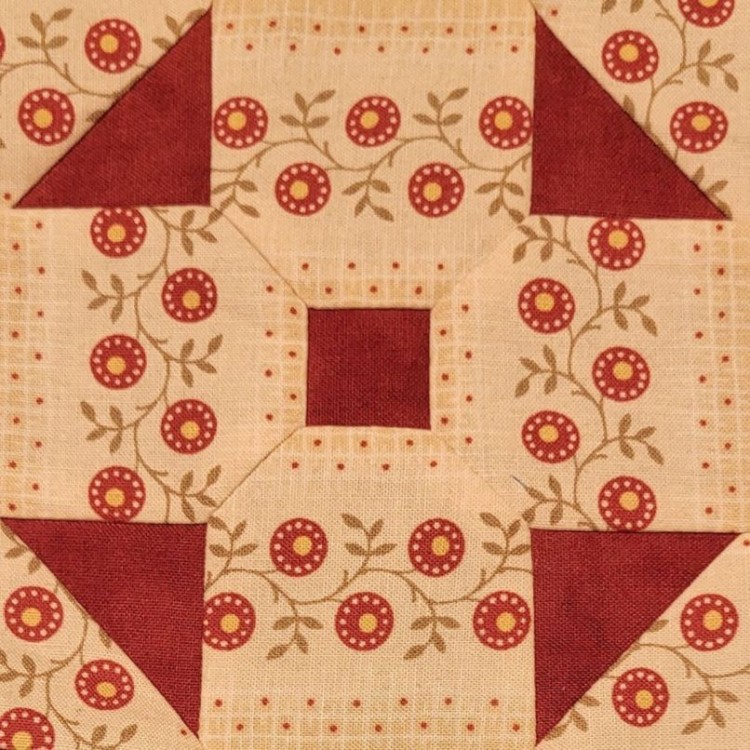
In Jane’s version of this block, the stripes point in towards the center, making a plus shape. But I ended up cutting out mine with the stripes running parallel to the center. The tab shapes are slightly wider than they are tall, so the fabric repeat fit just right when the stripe was oriented this way.
And it fit so snugly into the tab shape that there was no room for error in the fussy cutting. In a previous block, I’d struggled with lining up the fabric design just so under the pattern piece, but this time, I had a brilliant idea to make sure I was placing the pattern in just the right spot on the fabric.
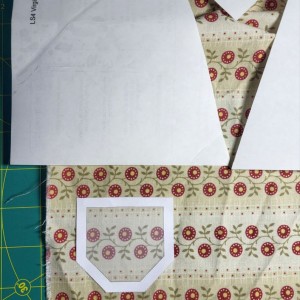
After printing and cutting out the template pieces on paper, I cut out the middle of the template piece, leaving just a 1/4″ ring of paper at the edge of the template.
Then I took a leftover scrap of Avery label paper, stuck the label over the top of the hollowed-out template, and cut the label paper around the edge. This gave me a template with a little window in the middle, so I could see exactly what part of the fabric would be visible after stitching:
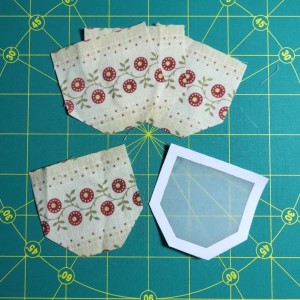
And the stickiness of the “window” helped me keep the template precisely where I’d put it while I cut around the edges of the template.
The stickiness lasted long enough for me to reuse the template to cut all four tab pieces. And as a bonus, I finally had a use for all that leftover label paper from printing out triangle block templates on larger rectangular label paper.
The corner pieces that called for striped fabric presented their own challenges. I couldn’t have the stripe run parallel or perpendicular to the corner, because that would leave me with bias edges on the sides of the block.
My new sticky see-through template technique came to the rescue again, allowing me to audition a bunch of different fussy cuts for those corner pieces before settling on the best one.
I’m so pleased with how the block came out, and also that I have another technique in my toolbox, for the next time I need a window into what the block’s pieces will look like once they are stitched together.