There are so many options for piecing this one, and I was taking it to retreat, so I wanted to have all viable options open to me when I got there. This meant printing all the templates and block outlines I might possibly need before I left for retreat. Then I could decide once I got there how I actually wanted to construct the block.
The Dear Jane software suggested you piece all of it, but I hate curved piecing, so that was a last resort.
One Dear Jane blog suggested appliquéing the four melons onto a background piece, which wouldn’t have been too hard, but I wanted to get the effect of the plus shape overlapping the outer edge.
Other sites recommended appliquéing a circle on the background, then appliquéing a plus sign over both layers, but I felt like three layers would be a nightmare to hand quilt through.
Also, I had some concerns that any pieces of red fabric underneath the tan fabric would “bleed” through, making the tan appear kind of pink.
So, I opted to do reverse appliqué, despite it using up a bit more of the precious red fabric. Nobody else was using this approach online, but I figured if I did it this way, at least all the tan pieces would have red fabric beneath them, so it would show through equally on all pieces.
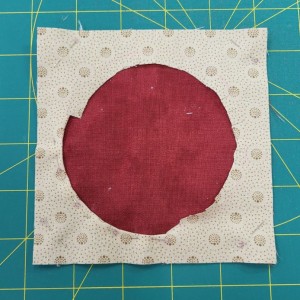
First, I cut out a block-sized piece of tan and one of red, putting the red fabric beneath the tan. I used the block outline (I printed out three of them just to be on the safe side) to freehand draw the stitching line for the circle.
And then I reverse appliquéd the circle shape to form the outer edges of the red “melons” on this block:

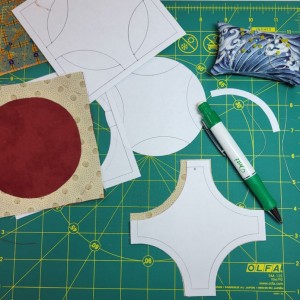
Next, I cut out the center tan piece (I had a printout of the templates for that). Once I had the fabric piece cut out, I trimmed the seam allowance on one of the curves of the pattern piece, so I could use it to easily mark those curved stitching lines:

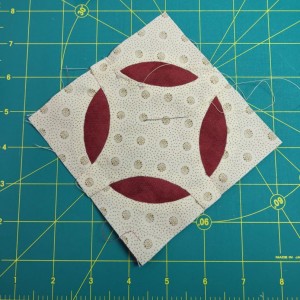
Then I pinned the center piece and appliquéd (reverse appliquéd? I’m not sure which this is) the four inner curves of that center piece. This piece formed the inner edges of the four red “melons.”

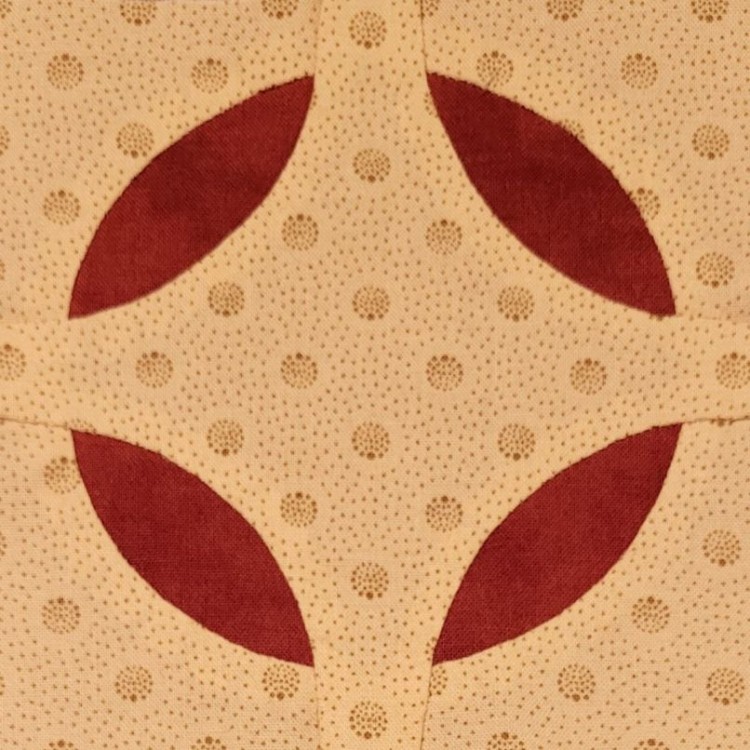
Technically, there is a little spot at the center of each edge of the block where there are three layers of fabric, but those spots are small enough that I can just make sure not to quilt there. I’m calling this a successful first block of this fall retreat.
When I first got to retreat and started working on this block, I noticed there were some red stains on the table. And then I noticed some red stains on my pattern pieces (you can see a smudge in one of the photos above).
It wasn’t until late that evening that I realized where all those red smudges were coming from … I’d scraped my elbow pulling all my supplies out of the car when I arrived, and had bled all over my workspace. At least I don’t appear to have gotten any on the fabric itself.
In the IT department I worked in years ago, it was considered good luck if a little blood was shed on a computer assembly project. I’m not sure if that’s true for quilting projects, but I’m going to count it as a good omen for my Dear Jane quilt.

The melons are lined up perfectly with your method
Right? They couldn’t help but be the right shape and size and distance from each other, when each one was made by overlapping the same plus shape over the same circle!