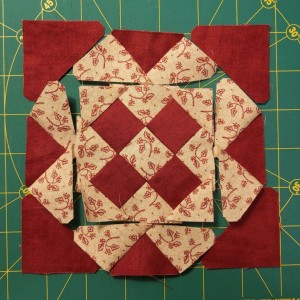
It seemed like there ought to be a way to simplify the piecing on this one, but I couldn’t figure it out. So, I just stuck with assembling all the triangles around the edge of the center square as shown.
This was one of the three extra blocks I brought to retreat in case Triangle LR5 didn’t pan out. And I did get to cut out the pieces for this one after dinner on the last night of retreat.
The middle is essentially a nine-patch block on point, with the side squares of the nine-patch being triangles instead of squares.
I followed the rotary cutting directions for these pieces, but those side triangles seemed to be too big compared to the size of the squares in the nine-patch. I ended up stitching just inside the marked stitching lines on those triangles. That made the triangles fit in the center nine-patch, but I still wasn’t sure if the rest of it was all going to fit together in the end.
The problem here is that rotary cutting instructions stick to increments of 1/8 inch for all the cuts, and the math involved means that the measurement for the long side of a rotary cut right triangle might not be in a handy 1/8″ increment. In that case, it may be difficult to make the long side of a right triangle match up with the short side of another right triangle, or a square, or whatever shape).
I think it may have something to do with the Pythagorean Theorem, but maybe it’s just that the Pythagorean Theorem is the only thing I remember from my geometry class in 9th grade.
On vacation a few weeks after retreat, I tackled the rest of the block. The small triangles that attached to the nine-patch in the center felt too small. I couldn’t figure out if they were too small, if the larger triangles were too big, or both.
But once again, the rules of geometry made things difficult and I felt like the pieces of this geometric jigsaw puzzle weren’t quite fitting together.
Since I was out of town on vacation, I didn’t have access to the templates (only the rotary cutting instructions), so I dithered for a long time about whether to assume one or both shapes were the wrong size.
I ended up looking up the Susan Gatewood pattern online, and using my screenshotting tool to measure the relative size of different parts of the block. That center square with the quasi-nine-patch in it is supposed to be 3″ square when finished, and the triangle “borders” around the center square are supposed to be 3/4″ wide.
This helped me figure out that the corner triangles on the center square were probably too small. Armed with the knowledge that it was supposed to end up at 3″ square, I remarked my stitching lines.
Once those corners were on, I tackled the borders made out of triangles, stitching them together in sets of three to go on each side of the center block. Armed with my makeshift online measurements, I felt like these triangles were probably the correct size.

But when I started to pin the first border onto the center block, I realized it was probably more important to match up the many triangle points on these seams, rather than worry about the exact size of each piece. Then I could do any fudging to get the block to the right size when sashing it, without the design looking too off.
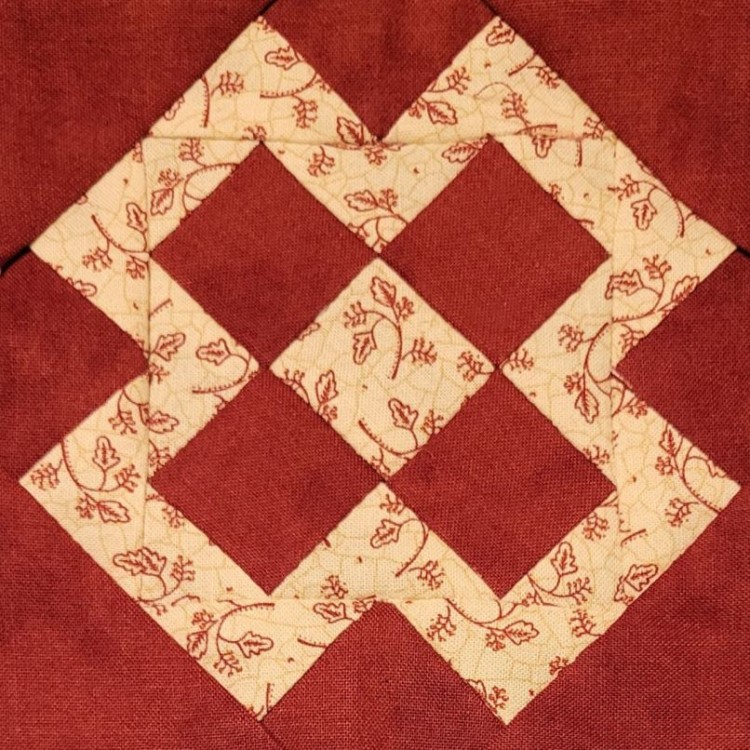
The hypotenuse (ha, I remember two things from geometry class!) on all these triangles definitely made things trickier, but ultimately I was able to fit all the pieces together on this geometric jigsaw.

It turned out beautiful – like all your blocks.
Awww, thanks, Kathleen!