The rotary instructions for this block were made more complicated by the Dear Jane software, which seems to think some of the angles on these pieces are 46 degrees instead of 45 degrees. And so, I offer you my own rotary cutting instructions, in hopes that it will make this block in your journey simpler too.
For the tiny red triangles at the ends of the X, the software gave complicated cutting instructions where one triangle point was 45 degrees and the other was 46 (presumably making the “right” angle actually an 89 degree one). And it wants you to cut it so the long side of these triangles are on grain and the short sides are on the bias, for reasons that are still not clear to me, but I’m going with it.
To make the slicing and dicing much simpler, I simply cut out a 1-7/8″ red square, and then cut across both diagonals to make the required four triangles.
For the green pieces that go around two sides of those red triangles, the software gave rotary cutting instructions for the larger green pieces but not the smaller ones.
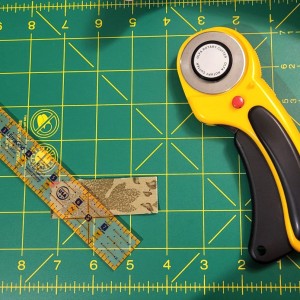
Here is the rotary-cutting approach I took to get those smaller pieces: cut four strips that are 3″ x 1″. Measure 1-3/4″ in from the left along the bottom of the piece and mark that spot. Use the 45 degree angle on your ruler and angle the ruler from the marked spot back to the left as shown:

Make this cut. The part left beneath the ruler will be your smaller green piece, and the part you cut off will be your larger green piece. Cut two of the 3″ x 1″ strips this way.
On the other two strips, measure 1-3/4″ in from the left along the top of the strip, mark the spot, then angle the ruler from the marked spot back to the left (like a forward slash instead of a back slash).
This way, you make sure to have half the pieces with the point on one side and half with the point on the other, as the pattern calls for.
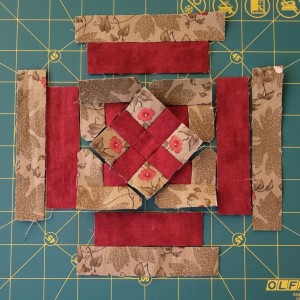
With the oddball rotary cutting for this block, I just cut most of the green pieces so that they contained only green. For the four green squares in the center nine-patch, though, I couldn’t resist fussy cutting cute little red flowers in the center of each.
Even though this block looks complicated, it was fairly straightforward to piece. Start by assembling the nine-patch in the center, then sew those oddball green pieces around each of the tiny red triangles:

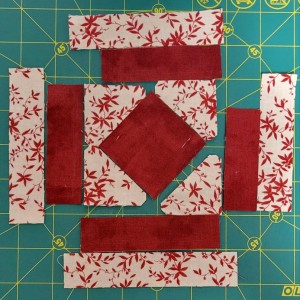
At this point, it should look eerily similar to Block C1:

Add the triangular pieced sections to the nine-patch to make a diamond-in-a-square block, then finish it off with two rounds of borders.
The only tricky part was that I had a few seams that required stitching both green fabric to green fabric and red fabric to red fabric (stitching the triangles onto the center nine-patch). I ended up using green all the way across those seams, and it is not noticeable from the front.
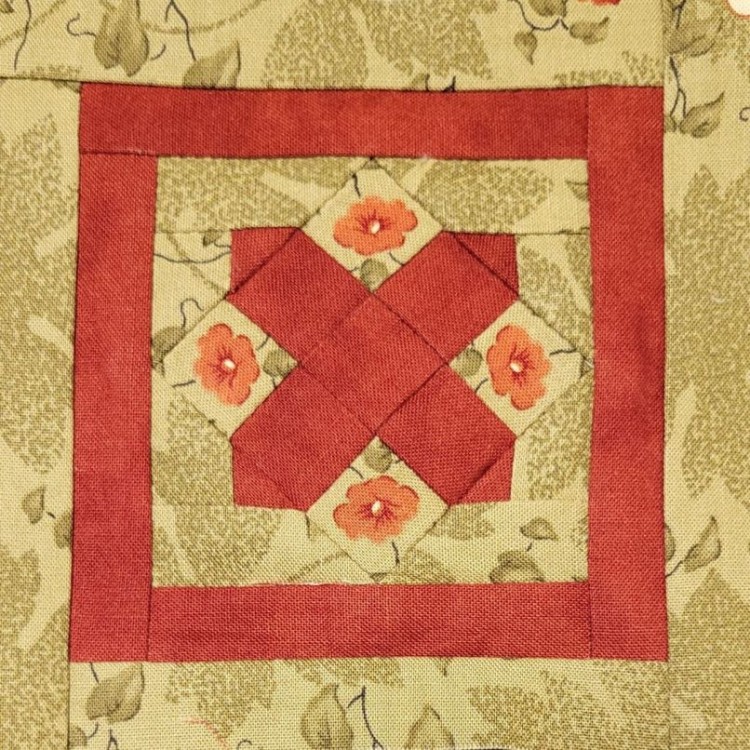
I love a block that looks more challenging than it really is, and this one definitely falls into that category. Once I trusted my own rotary cutting skills and made the angles consistently 45 degrees, everything came together easily.
