This was another one of those blocks where I felt uninspired by the fabric I’d chosen, and wanted to find something new to use instead.
And this was the color of green where I struggled the most to find suitable fabrics. Many of the pale greens I found were either way too yellowy or borderline mint green. But my friend Judi gave me some great options:

The irony is not lost on me that the photo quality is not great, here in this blog article titled “The Photographic Evidence” … but frankly, I was pleased to find the photo from five years ago at all.
And just to really drive home how much I depend on photographic evidence, I will tell you that when I got all these fabrics from various people five years ago, I took a picture of the fabrics from each person, along with the note they sent, or the return address on the envelope, so I would be able to remember later who gave me which fabric.
This is that photo of fabrics from Judi, which was for my own reference and never intended to be published on this blog, and with the note from her cropped out of the picture.
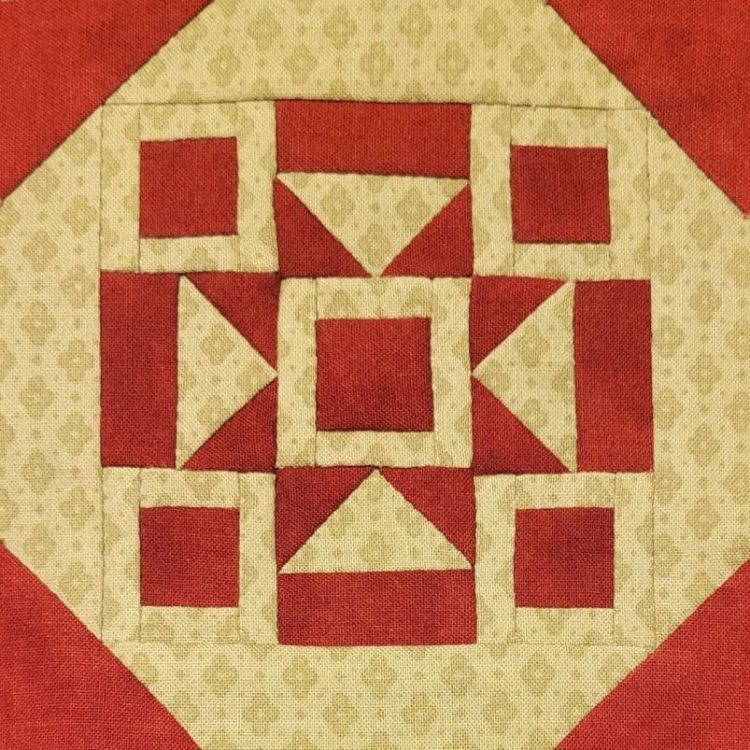
The lighting in the photo is not the best, but I felt like the fabric was perfect for this block, so I forged onwards and cut out the whopping 49 pieces for the block.
The green fabric was directional, and it was important to keep all the pieces facing the correct way. And there were SO MANY PIECES to keep oriented correctly, including some square pieces that could easily be rotated the wrong way.
So, I employed a technique I’ve used many times in the past – taking a photo of the laid out pieces, so I’d be able to reconstruct the layout later if necessary:

Yes, the photo quality is terrible here as well. This is why I am a quilter, not a photographer. But it did its one job of helping me remember which way was up on each green piece.
As you can see, I didn’t actually take the picture when I first cut out all the pieces. In fact, I was in a rush to prepare some pieces to stitch at a doctor’s appointment the next day. So, I cut out the four green triangles and the red pieces that went around them, figuring I could assemble those on the go, and then cut out the rest of the pieces later.
Once I got the rest cut out, I arranged all the pieces, including the four little units that were already stitched, and took my terribly-lit photo.
From that point on, I could refer back to that photo whenever I needed to make sure I was keeping all the pieces in the correct places.
Fitting 49 tiny (and directional!) pieces into a 4.5″ square was intimidating for sure, but the somewhat better-lit photo of the finished product is evidence that I was up to the task. On to the next block!