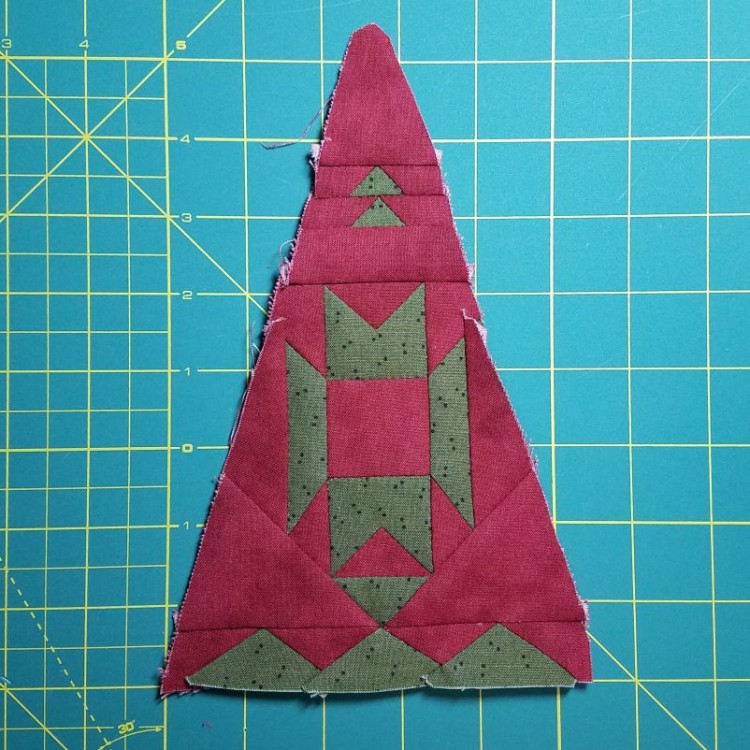
After uncovering my tendency to sew triangles in July, I’ve been putting some more thought into exactly how I decide which block to do next. This one was no mystery – I chose it because the design looked Southwestern, and it’s hot enough here that I feel like I might as well be in the desert climate of the Southwest.
Quilting in the heat is easier now that we have air conditioning, but it’s still no picnic to quilt in the summer. I went back and looked at previous August blocks, and the underlying theme is that I didn’t finish very many, and they were all made with light green fabrics … maybe because lighter fabrics don’t soak up as much sun and help keep you cool?
This year is no exception, as I finish the first block of August more than halfway through the month.
In my defense, it was my first intermediate difficulty triangle, and it had a lot of pieces, so it wasn’t a quick and easy block to assemble.
I’m using the Avery label method again, since it worked so well for me on a previous triangle block. It’s a great solution for the triangle blocks’ odd-shaped pieces.
One of the downsides of using this method is that it’s harder to travel with. I don’t want to cut out too many pieces ahead of time, because I’m worried I’ll lose track of which pieces go where. So, the bulk of the work ends up being done at my sewing table, instead of on the go.
The original triangle block of Jane’s was made with more pieces than were strictly necessary: for example, the green “M” and “W” pieces of the center motif were each made out of three triangles in her version, rather than a single “M”-shaped or “W”-shaped piece.
Since I’m always concerned about running out of fabric (not to mention having too many bulky seams), I opted to reduce seam allowances and cut each “M” and “W” out of a single piece.
This meant I had to do a Y-seam for the triangle that nestles into the “V” of the green piece:
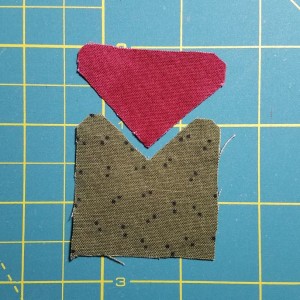
Okay, you got me, it’s technically not a Y-seam, but after “M”, “W”, and “V”, I couldn’t stop myself from talking about “Y”. There’s no third seam coming down from the point so that the seams make a Y shape. However, the effect of this inset seam is the same … at some point in the stitching, you’ve got to turn a corner with your seam, which can be tricky.
Y-seams are generally easier to do when hand stitching than when using a sewing machine, but with all the fabric bending required to get everything lined up, I just wasn’t sure how it was going to go with those stiff labels stuck to the two pieces.
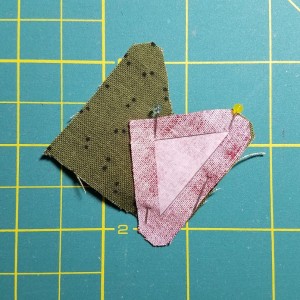
First I lined up the two pieces to sew down one side of the triangle, which was no problem:
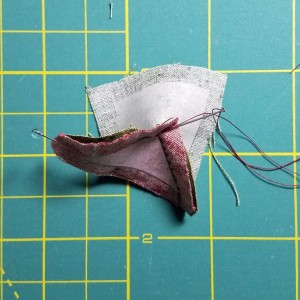
Then I snipped into the seam allowance right at the point of the “M” (or “W”) piece, so that it could more easily bend around the other side of the triangle:
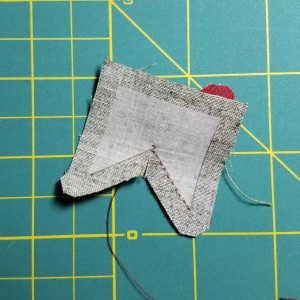
It was awkward to bend the fabric with the labels on, but definitely doable:
I think the end result looks pretty crisp:
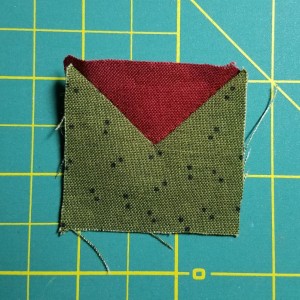
Jane’s original block had this square made out of four pieces. Some of the modern instructions I’ve seen have it made out of three pieces (one big and two small triangles). While both of those methods make the construction easier, I really like the finished look of my technique.
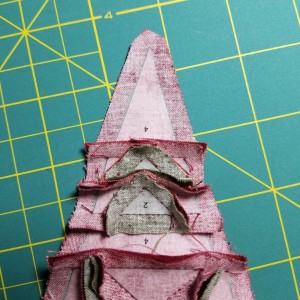
The rest of the block went together slowly but without any great challenges. This time I even remembered to mark the seam allowances at the edge of the triangle before pulling out all the labels:
It’s late August, and not only am I ready to move on to the next block, I’m also quite ready to move beyond this heat wave. Just in case my quilt block choices do have an impact on the weather, I think I’ll choose something with dark fabrics or leaf motifs for my next block, to encourage cooler fall weather to hurry up and get here.
