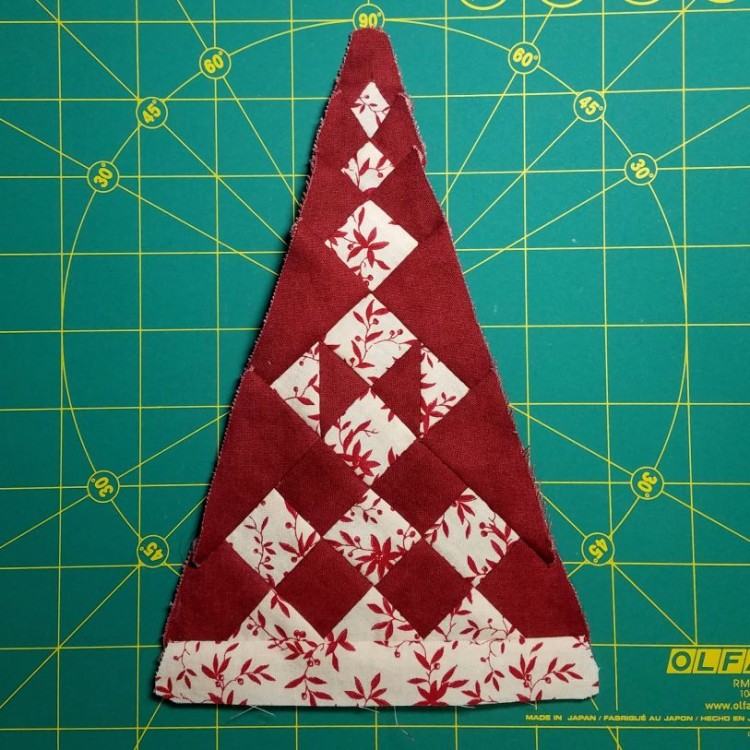
It seems appropriate, on this 41st anniversary of Mt. St. Helens erupting, to write about this triangle block … this cone-shaped vessel of chaos. How did this innocent quilt block come to be linked in my mind with a disruptive volcanic eruption?
To start things off, I, for whatever reason, decided not to use the Avery label technique on this triangle. Probably because a decent percentage of the blocks were plain old squares and right triangles.
So, I started cutting pieces out the old-fashioned way. When I got to the odd-shaped pieces at the edges of the triangle, I carefully traced around printed out templates to produce accurate pieces.
And then I started sewing them together, working from the bottom of the triangle upward, as I usually do.
I had one bad moment where I thought I must have sewed something together incorrectly, because when I measured across the bottom, it wasn’t as wide as the finished triangle. Fortunately, I quickly realized it was because I hadn’t yet sewn on the long strip that goes across the bottom of the triangle.
So I soldiered on, sewing squares and triangles together from the bottom up. But then about halfway up, I ran into a seam that didn’t line up …
It was because of those side pieces that are like a triangle with the tip cut off. My only option was to stitch a set-in seam at a 90 degree angle, which is kind of a pain.
I doggedly kept working my way up the triangle from the bottom, until I ran into another set-in seam. I was getting increasingly frustrated and unmotivated to finish.
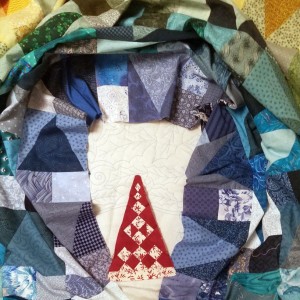
Meanwhile, the end of April was fast approaching, and I hadn’t finished a single part of the UFO Challenge for the month. I switched gears and did my allotted hand quilting on the wholecloth quilt. As you can see from the photo, I did meet the challenge, but it was down to the wire (I finished the latest row of the rainbow quilt on the evening of April 30th):

In between the hand quilting and the rainbow row, I went back to the volcanic triangle block. After several days of bubbling and simmering frustration, I realized I had never looked at the That Quilt site to see how she constructed this block (as I usually do before every block).
And boy, do I wish I had looked at it earlier. She had step-by-step photos showing what to sew together and when. Following her directions, I would have had to sew only one set-in seam, and it was such a non-steep angle that it barely even counted as a set-in seam at all.
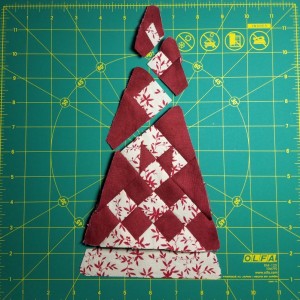
Even looking at her directions this late in the game, I still managed to get away with only three set-in seams. Here’s the block in progress, once I’d gotten back on track again:

The lesson here, folks, is to read the instructions at the beginning. If I’d done that, I could have avoided a volcano-sized eruption of frustration.
