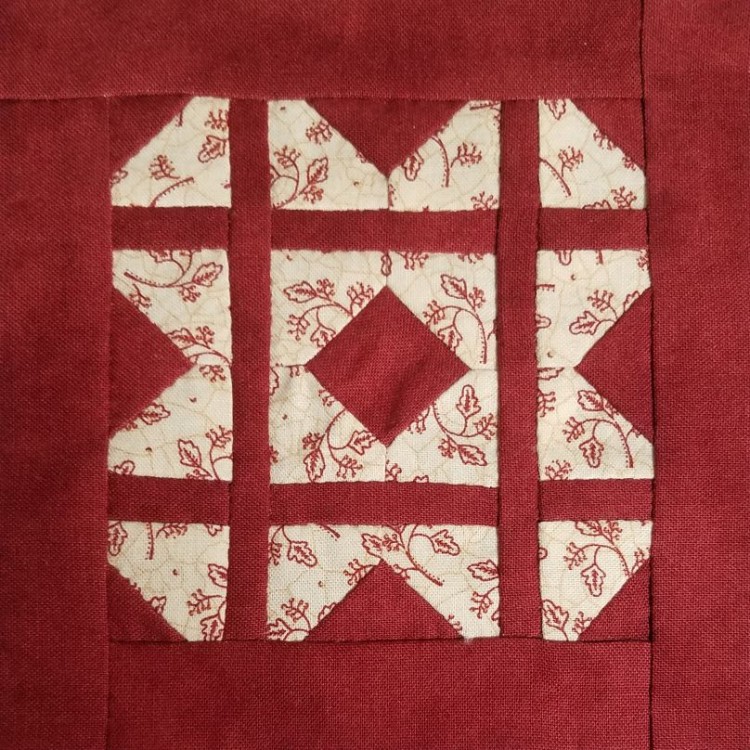
At first glance, this block looks like it’s made from four tiny snowball blocks, but it turns out they’re not constructed like traditional snowball blocks at all. With a snowball block, you take a square and sew a small triangle on each corner, magically converting that square into an octagon shape.
After my previous not-following-directions disaster, I made sure to read the instructions for this block on all the usual Dear Jane blogs. Most everyone made snowball blocks and then appliquéd the thin strips on top of the snowballs.
But that’s not my style, so I decided to not follow those directions (hey, at least I read the instructions before not following them this time!). Not being scared of set-in seams, and not being interested in appliqué, I just cut out the pieces (mostly) as drawn and started stitching.
With this construction method, you end up with a bunch of small squares that each have a triangle sewn onto one corner. Knowing that I was on the hook to make sixteen of these small dog-eared squares, I took this opportunity to try out a new ruler that my sister got me for Christmas.
The whole purpose of this ruler is to make it easy to cut out that shape (square with a corner cut off), but I found the instructions for it pretty confusing. The part about lining up one edge of the fabric with the ruler line that’s marked with the finished size of the block made sense. The rest of the instructions, however, were something like “line it up on the other appropriate lines so it will be the right size.” It didn’t give you a lot to go on.
I finally ended up cutting out the pattern piece, placing it under the ruler, and making a note of which ruler lines it lined up with, rather than trying to decipher the ruler instructions (there I go not following instructions again!). This method worked pretty well, and sure beat tracing around the paper template sixteen times. I love pieces that can be cut with only a rotary cutter and a ruler.
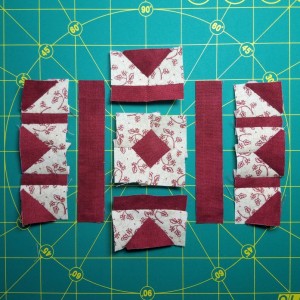
Earlier I said that I mostly cut out the pieces as drawn; I did end up eliminating some seams in the skinny strips that go between the dog-eared blocks. The finished size of these strips is only 1/4″, and I didn’t want to add any more seam allowance bulk in there than was strictly necessary. In the picture below, you can see that the center top and center bottom strips are each made of one longer piece, instead of two short pieces sewn together:

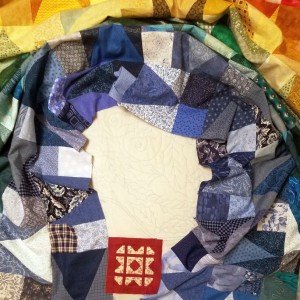
While this is the only Dear Jane block I got done during the month of May, I outdid myself on the wholecloth quilt (5 leaf motifs and 3 berries!), and got one more row of the rainbow quilt completed (only three more to go). We also had an excellent discussion about what kind of quilting design to do on the rainbow quilt, and optimistically started shopping for backing fabric and quilting thread. Here’s a photo of the UFO Challenge progress for May:

I had originally thought I should make this block in the winter, but now that I know they’re not really snowball blocks at all, it seems totally appropriate to have done this one in the sunny month of May.
