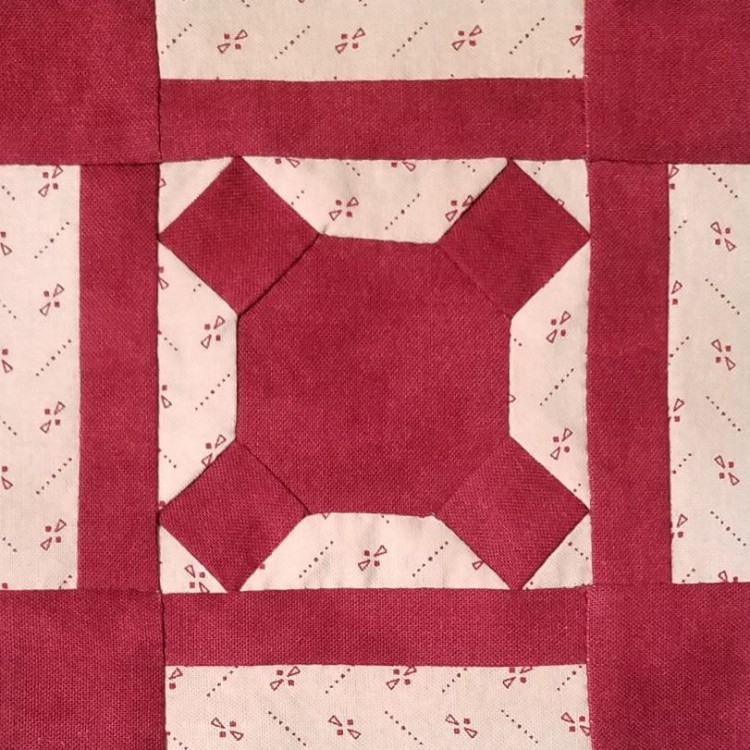
As soon as I saw this block, I thought that it looked like the kind of stylized table and chairs that are used in room plans by interior designers. Which is appropriate, because during all these weeks where I haven’t been writing this blog article, I have instead been daydreaming about rearranging my tiny sewing nook.
I actually worked on this block during a virtual quilting retreat at the beginning of last month (yep, about 7 weeks ago). One of the other retreat attendees had just rearranged her sewing room, and that got me to thinking about my own sewing space, so it seemed like the perfect time for an interior design-themed block.
Also, I had just finished wrestling with machine-sewn set-in seams on the “I Give Up!” block, so I was pretty excited about sewing some set-in seams by hand – they’re so much easier that way.
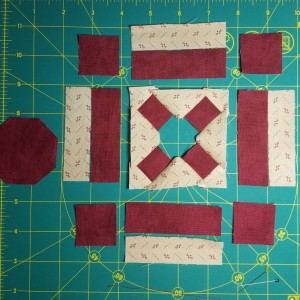
First, I sewed the little triangles to the squares (the chairs), so I didn’t have to fuss with adding those tiny pieces to a bigger pieced section later:
Then I had a number of options about how to proceed next. The two most viable approaches were to sew the square chairs to the octagon (table), then inset the trapezoid pieces between each chair; or to sew the trapezoids to the chairs to create a ring, then sew that ring onto the octagon. I opted for the second approach, because it’s always fun to sew on a giant ring.
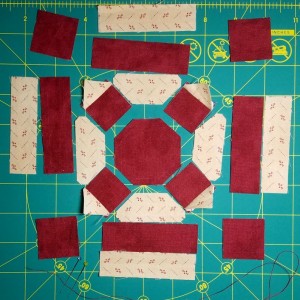
Here are the chairs and trapezoids sewn into a ring:
And here I’ve sewn the table into the middle of the ring:
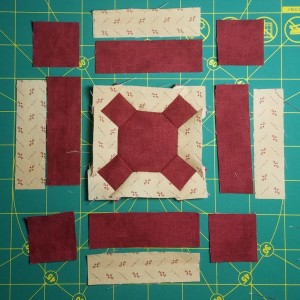
Once that was done, it was a pretty simple nine-patch block that went together in no time. This left me more time to despair about the lack of space in my sewing nook.
For example, my quilting hoop on a stand, when set up, only really fits in one place in the room, and that one place leaves me mostly facing away from the Zoom camera. It would be nice to be able to quilt and still look up and see everybody.
Also, this desk is my sewing station, cutting station, and workspace. In order to work on something else, I have to put away the current project. I’ve got my Dear Jane block in progress laid out on a small cutting mat, precariously settled on the top of a stack of stuff, so that I can reach my keyboard to type this.
Earlier, I had to move my quilting hoop in order to reach the ironing board, but then the quilting hoop was blocking both my computer and the door to the room. Come to think of it, that means nobody can get in and distract me from quilting. So, it’s not all bad.
But there’s definitely room for improvement, so I continue to ponder how I might rearrange my sewing nook to improve the quilting experience.
And what a quilting experience I had in November – the virtual retreat gave me so much time (if not so much space) to work on my UFO Challenge:
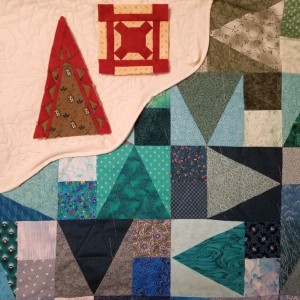
I finished two Dear Jane blocks, as you can see, and quilted 15 triangle motifs on the rainbow quilt. Since I had finished quilting the holly wholecloth quilt in October, my UFO goal for November was to create the binding and machine sew it to the front of the quilt.
This was my first experience with scalloped edges and bias binding, so I want to give a shout out to Krista Moser for her excellent instructions on curved bindings. I feel like this will be good practice for when it’s finally time to bind my Dear Jane quilt in 2032.
Now that the binding is stitched to the front of the wholecloth quilt, my December goal is to hand stitch the binding to the back. That’s right, folks, I may actually finish a quilt this year, for the first time in many years. Of course, it’s December 30th, so I really should get back to that. Stay tuned for the final installment of the 2021 UFO Challenge!
beautiful work
Thanks, Patty!