“I want to figure out a new dark fabric for this one!” I said to myself in Spring of 2021. But more than a year later, I still had no new dark fabric in mind for this block.
For months, I kept putting off starting the block because I didn’t feel like I had the right fabric for it, but now I’ve found this dark green floral at my friend Beth’s estate sale. It is slightly brighter than the other dark greens in this colorway, but that’s what Beth’s all about – very bright colors. It’s a wonder I found one of hers this drab to use in my project!
It’s kind of odd fabric – so thin with such fine threads that it almost makes me think of nylon tent fabric. It definitely makes it trickier to butt seams together when pinning together two sections of the block. Even a double-layer of the fabric just slides right past the other side of the seam instead of butting against it.
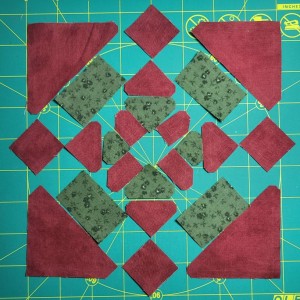
There are some pretty tiny pieces in the middle of this block:

But I figure it’s good practice for when I eventually get to the G6 block with it’s supremely tiny pieces.
I’ve struggled with diamond in a square style blocks in the past, and this one was no exception. So many bias seams, so easy to get stretched out. Plus, I worked on that tiny center of this block while watching the January 6th hearings. So, possibly my being upset over the content of the hearings caused additional stretching of the pieces.
By the end of the hearing, I’d completed that center section, but one corner of that section seemed to stick out way further than it should. So, I went back to the technique used in the previous sashing session, where I marked the center of the “block” (in this case, that center section) and the center of the “sashing” (in this case, those green rectangles that went around the center of the block).
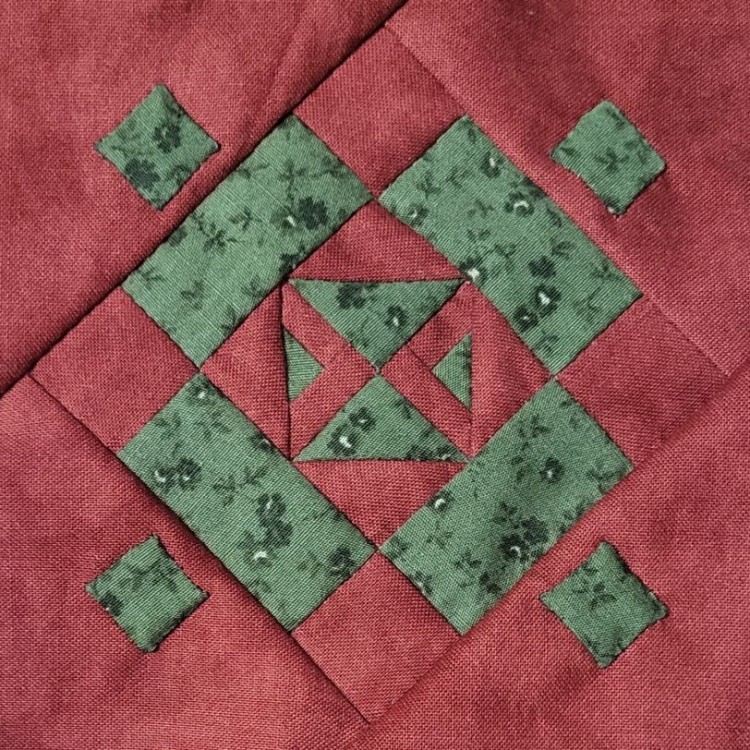
The end result is that by the time I got the green rectangles and red squares stitched around the center, things were relatively back in alignment, and it didn’t look too lumpy.
The next big design decision was whether to appliqué before or after attaching the triangles on the corners. Ultimately I decided to attach before appliquéing, because I wanted to get that bias edge stitched into place first. Plus, I’d already cut the triangles to the exact size, so if it bunched up when I appliquéd, I was going to be in trouble no matter what.
The first appliquéd square went okay, but the second one was more of a lopsided trapezoid. I decided I was just tired and quit for the night, but then I had trouble getting myself to go back to it for nearly a week.
Finally, I finished it up on the following weekend. I’m still debating whether to redo the one crushed trapezoid square. While finishing the other two squares, I had a great conversation with my friend Judi about how nobody notices these things once it’s in the quilt along with everything else. I’ll let it sit for a while and then decide.
That same conversation with Judi also set my mind at ease about the relative brightness of this fabric color, and for the same reason. The fact that the fabric is a slightly brighter green is probably not even going to be noticeable once the whole quilt is put together.
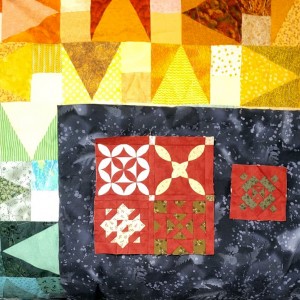
I made the usual progress on my UFO Challenge for June: 1 Dear Jane block, 2 more sashed and stitched to each other, and 18 triangle motifs on the rainbow quilt:

The green fabric of my latest block is definitely not too bright displayed here with the rainbow quilt as a background; it’s all about your perspective.

“The usual progress” is nothing to downplay! It’s all looking good!
I think I may be the only one doing the challenge this year, but having that goal is really helping me make steady progress.
Lovely!
Aw, thanks, Kathleen!