One of the things I discovered with the previous block is how (not) to do appliqué that goes right up to a seam. I didn’t talk about it in the previous article, because it was already so long, thanks to my manifesto on rulers.
On the previous block, I appliquéd on the two sides of the triangle appliqué that weren’t in the seam allowance, which worked great, but then when I tried to stitch that seam with the open side of the triangle appliqué, there was just too much bulk. Not only the two layers of fabric from the appliqué and the base fabric, but also an extra layer where the appliqué piece was turned under.
On that one, I opted to trim some of the underneath fabric, so that I could push the appliqué turned-under bits and the remaining underneath fabric out of the way as I stitched the seam, just like if it was a regular seam intersection.
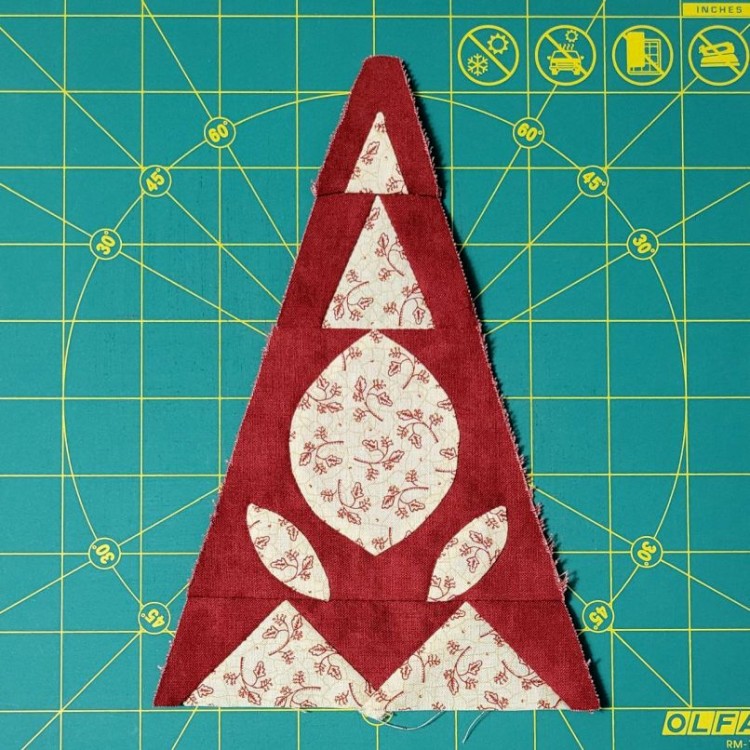
That ended up working quite well, and I was pleased with my solution. But then I started on this triangle block. It, too, has an appliqué triangle where one side of the triangle is in the seam allowance (it’s that small triangle up at the top).
The wrench in the works with this one is that with the triangle blocks, I use Avery labels on the backs of the pieces so that I can line the pieces up just so, and the finished block winds up being the right size and shape.
When there is appliqué in one of these triangle blocks, I do the appliqué first, and then stick the Avery label on the back and stitch the rest of the seams as usual. But here, the Avery label would prevent me from pushing that extra fabric out of the way when stitching that seam.
The solution I went with is to do the appliqué that doesn’t go in the seam allowance, then trim out the extra underneath fabric, just like I did on the previous block. Once that was done, I stuck on the Avery label and marked all the seam allowances around the edge of the background and appliqué piece:

Then I pinned this piece to the neighboring piece, using the registration marks on the Avery label as I usually do, so I know that everything is lined up just right:
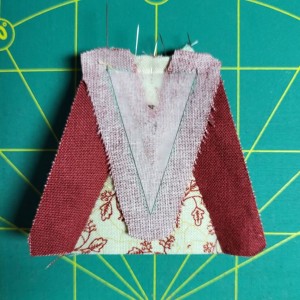
Finally, I pulled off the Avery label on just the appliquéd piece, so that I could move the seam allowance while stitching. I think my “temporary template” worked well, even though the label was only used for pinning.
That is a great idea I am putting in my files!! Keep on keep on!
No, thank you, Dawne! It makes my whole day when someone else gets ideas for their Dear Jane from reading about my experiences. 🙂