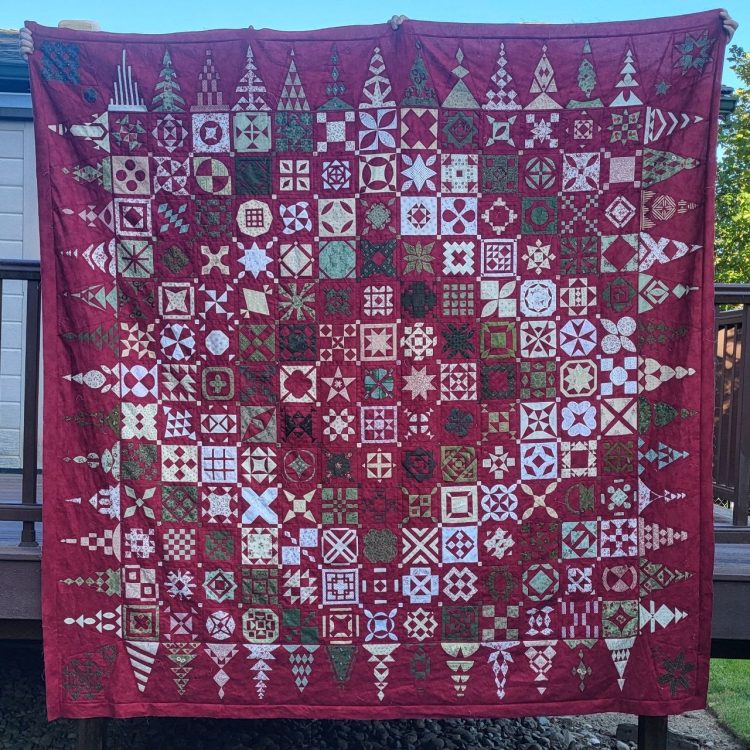
The outer borders were much simpler to put on than the triangle borders had been, because these borders were really just getting attached to the solid triangles, not the pieced ones. So there was very little crossing over seams to deal with.
With such boring stitching, I was able to pick it up for a few stitches whenever I had a free minute, and I zipped right along on the first border strip.
While I stitched, I debated whether to do mitered or unmitered corners on the outer border. Fortunately, I had cut all the border strips a little long, so I would have all options open to me.
But as I approached the end of the first border, I had to make a decision.
Ultimately, I decided to do unmitered corners – in part because those were more popular in Jane’s era, and in part because the skinny sashing strips were not mitered (ugh, who would try to miter a 1/4″ border?!?) and I wanted to be consistent.
Unfortunately, I decided I wanted the borders to overlap in the same direction as they had done on the skinny sashing strips, which meant I should have attached the top and bottom borders first.
So, naturally, I had started with the right side border.
But no worries, I just stopped right at the corner of the corner block, knotted the thread, and left the rest of the border strip dangling. Then, once the bottom border was done and trimmed, I could stitch that last inch and a half to connect the two borders together.
I repeated that process with the top border, and then I was back in business.
The left border went on drama-free, and now I am officially done with the quilt top!
Congratulations!! What a milestone!
Right?! It’s exciting to have completed the milestone, but it also feels like a good stopping point, so I’m struggling to build momentum towards completing the next milestone.
OH, I am so excited to see you finish this top. I have followed along for a long time and just the other day I was wondering how it was coming. I will continue following to see how the quilting goes. So happy for you that this huge project is almost done. Will be even more excited to see what your next project is.
Oh, wow, I haven’t even thought about what I might do next! Something to daydream about during the long hours of hand quilting this one. 🙂
Hooray!!!!
You did it!
Thanks, Hope! This is just the cheerleading I needed this week! 🙂