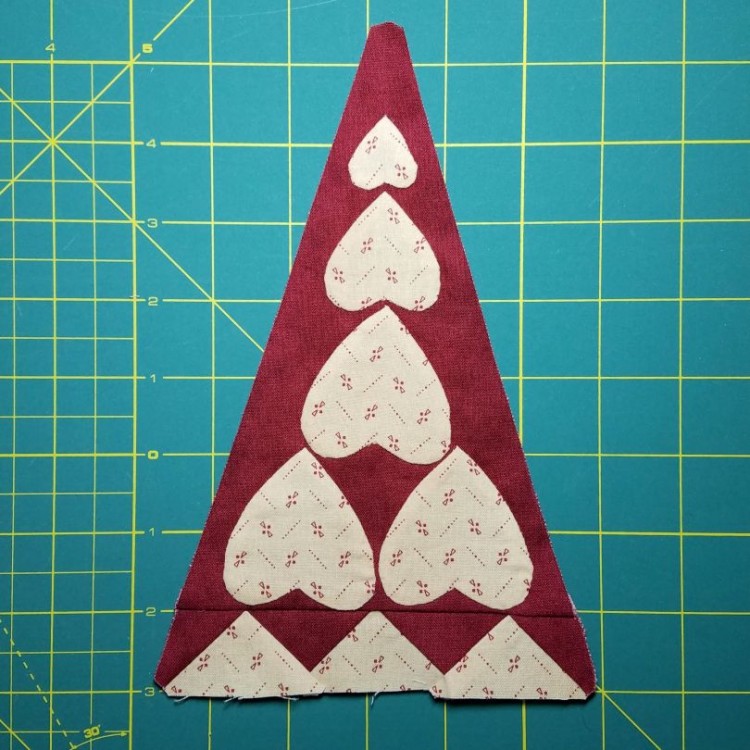
This is not the block I’d intended to do next, but how could I pass up the opportunity to work on this heart-filled block on the week of Valentine’s Day? Plus it means I’m working in a bonus triangle, and getting a chance to do some long-neglected appliqué.
Hearts are the standard shape for learning appliqué, because they have a little bit of everything: straight lines, curved lines, inner and outer points. I figured this classic shape would be a great way to get back into the swing of things.
However, I was a little further out of the swing of things than I thought – or maybe I’ve just never been good at curves in appliqué. I started with the small heart, but it turned out pretty pointy in the curves. The larger hearts came out better (or maybe I was just getting back into practice by then). I ended up going back and redoing the small heart at the end, and it looks marginally better now.
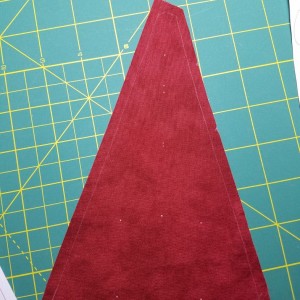
I’d learned my lesson from previous appliqué attempts, and I cut the large red triangle piece 1/4″ larger on all sides. I know the appliqué process tends to cinch up the fabric you’re appliquéing on, and I didn’t want to end up with a triangle piece that was too small.
The hearts are a tight squeeze on the (original size) red triangle piece, so accurate placement is paramount. This is especially true with the oversized triangle I’d cut – I didn’t want to end up cutting off the edges of the hearts when trimming the triangle down to size later.
My approach to ensure accurate placement was to print out an actual size picture of the block pattern. Then I poked holes in the paper pattern at the inner and outer points of each heart. Next, I centered the pattern piece on my oversized red triangle and poked the marking pencil through each of the holes I’d made:
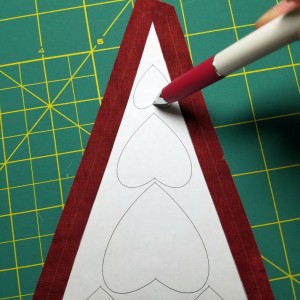
When the paper was removed, I was left with white dots on the triangle, showing where the top and bottom of each heart was supposed to go:
As I appliquéd each heart, I lined up the inner and outer points of the heart with the appropriate white dots.
Once I’d done and redone the appliqué, I carefully trimmed the triangle down to size, then got to work on the pieced section at the base of the triangle. Normally I’d use my Avery label technique for these non-standard pieces (the angles on those seemingly right triangles are actually 42, 42, and 96, rather than the more standard 45, 45, and 90).
This time, the piecing was such a small part of the block that I decided to risk it and just carefully trace and cut out the triangles from paper templates. I think it came out okay, and it is a labor of love after all, not a labor of perfection.
I didn’t get it done by Valentine’s Day, but I did get it done by the end of Valentine’s Week, on Saturday afternoon. And of course, it took me another four days to get this blog article written about it … but it’s a labor of love, not a labor of efficiency, right?
Someone was telling me about a BOM (block of the month) program for this quilt, where they complete 15 blocks each month, and have it done in 15 months. My goal is 2.5 blocks per month, and even that’s a struggle. I’ve only got 1.5 blocks for February so far, and eight days left to finish that last block. I’m trying not to feel discouraged though, because it’s a labor of love, not a labor of productivity.
I think the labor-of-love attitude is key for success on this long-term project. My heart is full thinking of all the quilters who have poured their love into their own quilts, just as I am doing with mine.
That’s another beautiful block and I enjoy reading about your progress still 🙂
Thanks, I always enjoy reading your blog posts too. I hope you’ll be able to get back to it again soon. 🙂