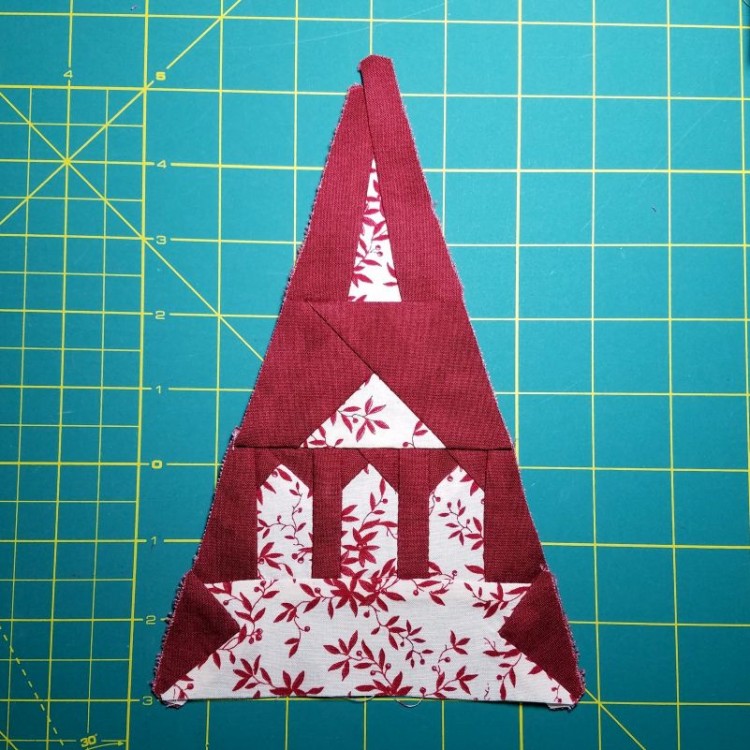
Apparently this block is named Megan’s Cathedral, and the people in my hand quilting group said (unprompted) that it looked like a cathedral, but I just don’t see it. All I see is a small plastic boat with three pegs sticking out of it – “You sunk my battleship!”
It took a long time to get this block started, because I was doing battle with my printer. I couldn’t print out the pattern pieces for a few days, because all the straight lines were coming out wavy every time I printed. I ended up having to change out every single ink cartridge to get it working again.
Once I had pattern pieces, I thought this one would go together easily. I like the triangles that are built in rows, because it makes it easier to keep on track and end up with a finished block that is the correct size. In this case, I printed out a full-size copy of the block and measured at what height each row started, so I could check my work as I went.
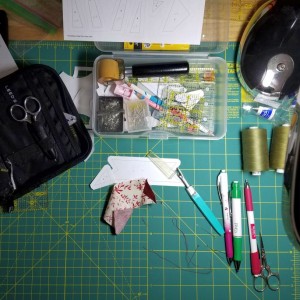
I opted to start with the bottom row and work my way up. It looked pretty simple: just one big piece with a triangle inset on each side. I’ve done a lot of inset seams lately, so in theory, this row should have been no problem. In practice, I couldn’t get it right at all. Here is an early attempt at this row (notice the prominently placed seam ripper in this photo):
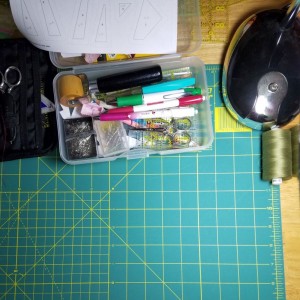
After three attempts, I put the whole block aside for several days. At the end of that hiatus, I was ready to do battle again. The first step – a clean slate (or at least a clean worktable):
This time, I opted to work from the top down instead of from the bottom up, which went much more smoothly. Our internet was out at home for several days, so I had lots of time to focus on the block.
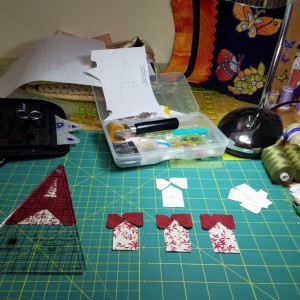
The only snag I ran into was figuring out which way the little red pieces were supposed to be arranged around the battleship pegs:
At last, I was ready to battle my way through that bottom row again. Once our internet connection was restored, I went back and looked at how I’d done this type of inset seam in the past (in August 2017 and August 2018 – apparently I like to tackle inset seams in the heat of summer).
In both cases, I’d sewn it with the right angle piece on top and the piece you have to bend around on the bottom … the opposite of what I’d tried to do on this block. Once I flipped it so the red triangles were on top while I stitched, it went a little better.
The final inset seams are not my best work, but I think they can be quilted into submission later. I may have lost the battle of this bottom row, but won the war … the triangle (my tenth!) is finally done, and I can tackle something new.