The pandemic didn’t allow for an in-person quilting retreat in April or November this year, so a couple dozen of us decided to meet virtually instead. We kept a Zoom meeting going from dawn till dusk for five days, with people dropping in whenever they had a spare moment to sew, chat, and show off their projects.
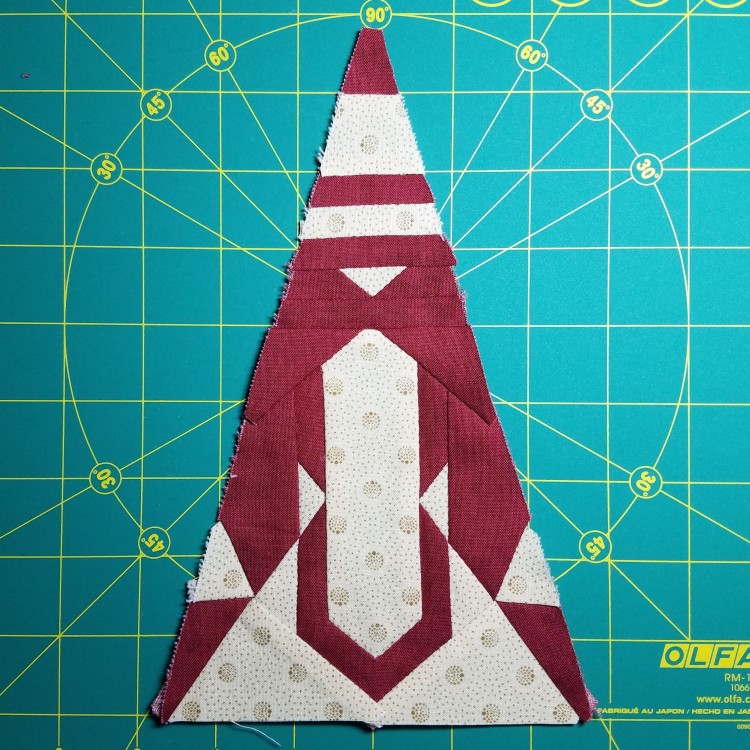
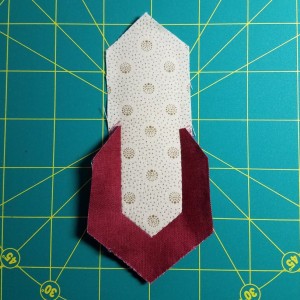
After warming up with the Star Trek block a few days before retreat, it was only natural to tackle this rocket-ship-reminiscent triangle block next. I’m guessing spacecraft is probably not what Jane Stickle had in mind when she made this block in the 1860s, but it sure looks like a rocket ship to me.
Normally I would not tackle a tough block like this at retreat, because I don’t like to have witnesses if it’s not going well … but I figured I could always mute my swearing and turn my video off if I needed to vent my frustration on innocent fabric. So, I started the block on my first night of retreat.
I had fun fussy-cutting the dotted fabric to make it look like portal windows in the spaceship. Of course, the dots on the fabric were closer together than I realized, which made for a lot of portholes. If this was an actual spacecraft, it might not be structurally sound.
The thing that made this block extra tricky was the U-shaped piece going around the center lozenge shape. Other quilters had used appliqué or cut the U into sections for easier assembly, but where’s the fun in that? I was determined to put it together in one long piece. And I was sure glad I’d revisited the “magic trick” technique on my previous block, because this was like a simple V seam on steroids!
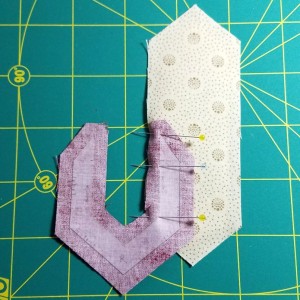
Below are photos of the four steps I took to attach this piece. Pinning the pieces together for the first seam, it seemed impossible that this would ever work:
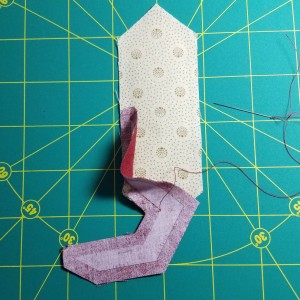
Step 2 was not too bad – a little awkward, but essentially just a basic V seam:
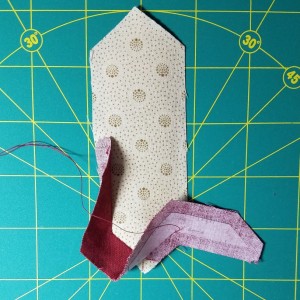
By Step 3, it became apparent that this was a lot harder to do with Avery labels stuck to the back of the pieces. Those labels sure don’t bend very well:
But after sewing the last leg of the seam, it all came together:
Feel free to print out these photos and assemble them like a flip book, so you can see the magic in action!
There were other set-in seams in this block, but after that U-shaped one, everything else was smooth sailing, and I finished the block on the second day of retreat. After two space-themed blocks in a row, I’m looking forward to coming back down to earth and making a simpler block next time.