My handful of faithful blog subscribers are probably wondering what happened to me, and whether I’ve given up on Dear Jane/Paulette entirely. Never fear, I am continuing to make slow progress on the quilt.
I’ve been dragging my feet for quite a while on writing this article though, because I couldn’t decide how to document my latest progress on The Progress page. In the past, I’d added an entry each time I completed a block, showing the timeframe where I worked on that block, tallying up the total number of blocks and pieces completed, and updating the quilt diagram by coloring in the pieces of the block I’d completed.
But what to do in this situation, where I hadn’t actually completed a new block? All I had done was sew four completed blocks to each other, with sashing strips in between. I consulted the experts on one of the Dear Jane Facebook groups I belong to, who assured me that all of those sashing pieces counted in the total number of pieces for the quilt. But I didn’t know how best to document that progress for posterity.
Finally I decided that I needed to do SOMETHING so I could move on to blogging about the block I finished way back in February. So, I’m just putting an entry on The Progress page showing the date range and the number of sashing pieces added. I’m also going to update the progress diagram to show those additional sashing pieces colored in.
With that bit of bureaucracy out of the way, we can finally get to the good stuff – assembling the blocks!
I title this article “The Assembly Line” – but I decided fairly early on that I didn’t want to assemble these things in rows. Assembling the 13×13 grid of square blocks that way would require sewing a dozen seams that were each more than five feet long. Ugh! Instead of an assembly line, I’d rather do an “assembly square”.
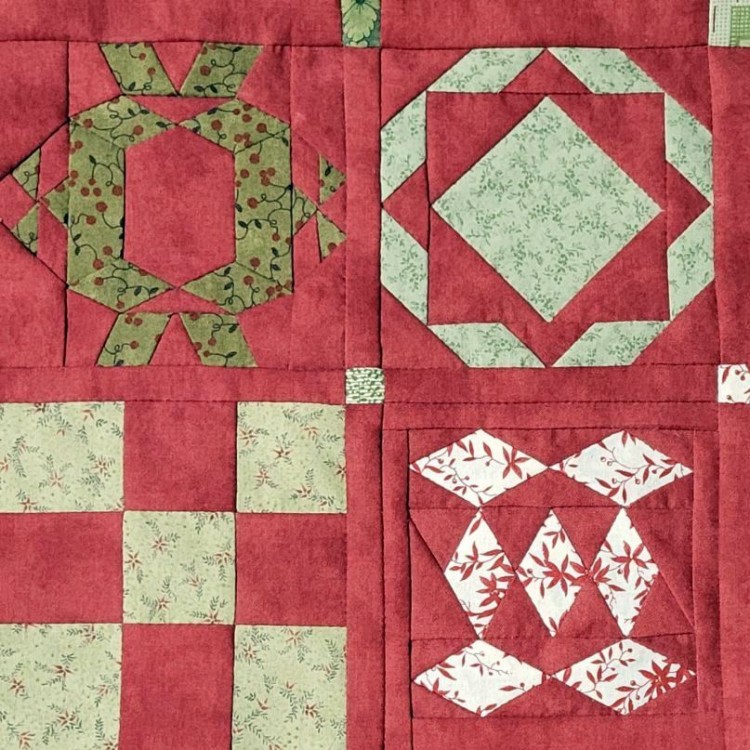
I figured that I could eliminate all but two of those twelve extra-long seams just by assembling the center blocks into nine different squarish segments. And I’m doubling (tripling?) down on that technique by assembling each squarish segment out of four smaller squarish segments, which are in turn made from four (to nine) actual square blocks. The photo at the beginning of this article shows the first of many of those smaller squarish segments.
I’m having fun picking out coordinating fabric for cornerstones from Paulette’s bag of precut one-inch squares. I’ve been worrying a bit about the fact that those squares are probably not prewashed, but really, how much could a one-inch square actually shrink? It’ll probably be okay.
Last month, my sister got me a sewing bird, something that I’ve been wanting for a long time. For those not in the know, a sewing bird clamps on to your table, and then you can clip fabric in its beak:
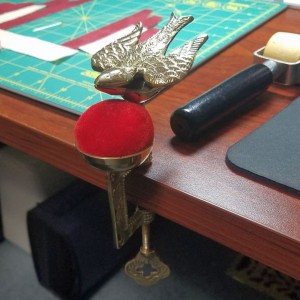
It functions sort of like a third hand, and I think it’s going to come in very handy (pun totally intended) for holding a long strip of blocks in place while sewing them together. It almost makes me look forward to working on those two 5-foot assembly lines!